
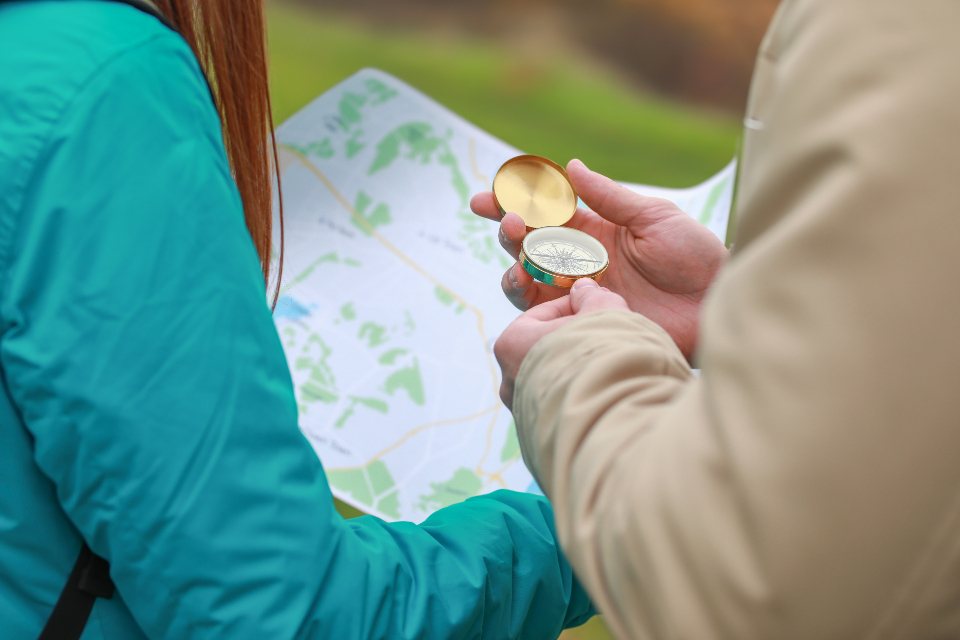
Most of us learned to navigate the easy way, in good visibility, on a path, with the summit in view. The skill that matters is the other kind: cloud down to the col, a featureless plateau, and a decision to make about which way is off. Phones and watches have their place, and we carry one, but they are a supplement to a paper map and a compass, not a replacement. What follows is the method we use, stripped back to the parts that actually get used on a wet Tuesday in Snowdonia.
Choosing the right sheet
Ordnance Survey publishes two scales that matter to walkers. The 1:50,000 series covers the ground at two centimetres to the kilometre, which is fine for planning and for long, obvious ridges. The 1:25,000 series doubles that to four centimetres per kilometre and shows field boundaries, walls, individual crags and the true line of a path across a bog. For anything involving micro-navigation, we carry the larger scale. Both series share the same blue grid of one-kilometre squares, which is the thing that makes every other skill possible.
Contour intervals differ between the two. On the 1:50,000 sheets the interval is ten metres. On the 1:25,000 sheets it is five metres in lowland areas and ten metres in mountainous ones, so a Lake District sheet and a Norfolk sheet do not read the same. Every fifth contour is drawn heavier and carries a height, which lets you count quickly from a spot height on a summit.
Reading the shape of the land
The single most useful habit is to stop looking for symbols and start looking for shapes. Contours that bulge away from the summit are a spur; contours that bite inwards are a valley or a gully. Where lines crowd together the ground is steep; where they spread apart it is flat, and a wide flat area between two summits is a col, the natural place to aim for and the natural place to get lost. Tightly packed contours that suddenly end in black hatching mean a crag, and the hatching sits on the downhill side.
Practise this on ground you know. Stand on a fell in clear weather, set the map so the grid lines run north-south, and match three things you can see to three things on the sheet: a tarn, a wall junction, a change of angle in the ridge. The point is to build a translation between paper and rock that works automatically when the cloud comes in and there is nothing to see but the ten metres in front of your boots.
Grid references and the three norths
A six-figure grid reference locates a point to within one hundred metres. Read the eastings first, along the bottom of the map, then the northings up the side; the phrase “along the corridor and up the stairs” has survived because it works.
There are three norths. True north is the pole. Grid north is the direction of the vertical grid lines, which differs from true north by a small amount that varies across the country. Magnetic north is where the needle points. The difference between grid and magnetic north is the magnetic variation, printed in the margin of each sheet with its date and annual rate of change. In Britain it has been drifting through zero over the last few years and is currently small, so many walkers ignore it. We check the margin, because on a long leg in cloud a few degrees is the difference between a col and a crag.
Taking a bearing from the map
This is the sequence, and it is worth rehearsing until it needs no thought. First, lay the long edge of the compass baseplate along the line from where you are to where you want to be, with the direction-of-travel arrow pointing towards the destination. It is surprisingly easy to lay it backwards, which gives a bearing exactly 180 degrees wrong. Second, ignoring the needle completely, rotate the housing until the orienting lines inside it run parallel to the grid lines on the map, with the north end of the lines pointing to the top of the sheet. Third, read the bearing at the index line where the housing meets the direction-of-travel arrow. Fourth, adjust for magnetic variation if the margin says it matters.
Now take the compass off the map, hold it flat in front of you at waist height, away from any metal, and turn your whole body until the red end of the needle sits inside the orienting arrow. The direction-of-travel arrow is now pointing where you need to go. Pick a feature on that line, a boulder or a patch of paler grass, walk to it, and repeat. In thick cloud the feature may be twenty metres away. That is fine. Twenty metres at a time, with discipline, will cross a plateau.
Distance, time and the techniques that catch mistakes
A bearing tells you the direction but not when to stop. Two tools cover that. Pacing: most adults take between 60 and 70 double paces per 100 metres on flat ground, more uphill and in deep heather. Count your own on a measured stretch and write it inside the compass housing. Timing: on rough terrain a walking pace of four to five kilometres an hour, plus one minute for every ten metres of ascent, is a reliable planning rule and a useful check on a leg. If a leg should take twelve minutes and you have been walking for twenty, something is wrong, and stopping to think is the correct response.
A handful of habits reduce the cost of error.
- Aiming off: deliberately set the bearing slightly to one side of a linear feature such as a stream or wall, so that when you reach it you know which way to turn.
- Handrails: follow a wall, a stream or the edge of a plateau rather than a bare compass line whenever the ground offers one.
- Attack points: navigate to a large, unmissable feature near your target, then take a short, careful bearing for the last few hundred metres.
- Catching features: identify something beyond the target, a stream or a sharp change in slope, that will tell you if you have overshot.
When the cloud comes down
The technique fails most often not through lack of knowledge but through lack of decision. Walkers who could take a perfect bearing at the kitchen table do not take one on the hill because it feels like an admission. Take it early, before the last known feature disappears. Note the time at every col and summit. Keep the map folded to the square you are in and the compass on a cord round your neck rather than in a rucksack lid. And if two of you are navigating, one reads and one paces, and you agree before setting off what you will do if the leg does not deliver what the map promised. That agreement, more than any single skill, is what gets people down off the plateau in one piece.